
Today, we’re going to explore: Blender Cycles
(step-by-step guide featured at the bottom of the page)

Step-By-Step Guide:
1.
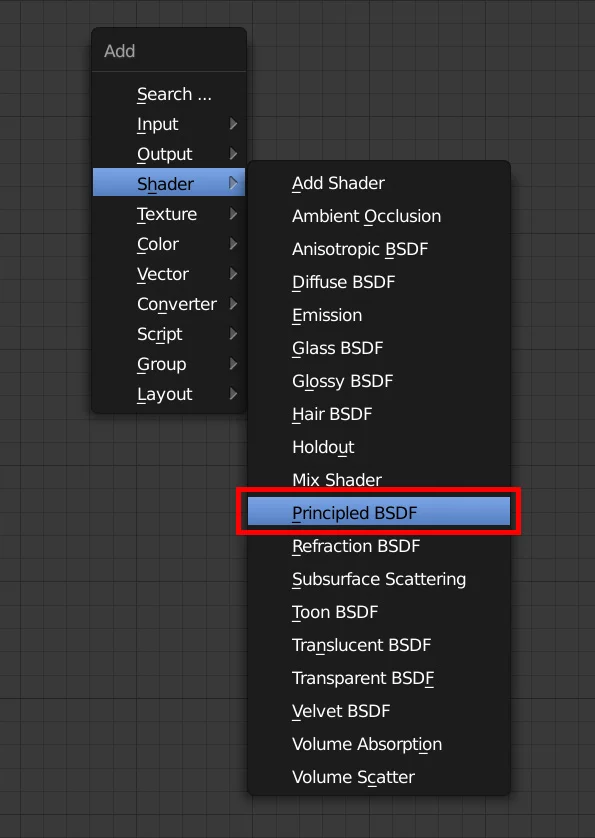
Inside the Node Editor, create a Principled BSDF Shader. (Shift+A)
2.
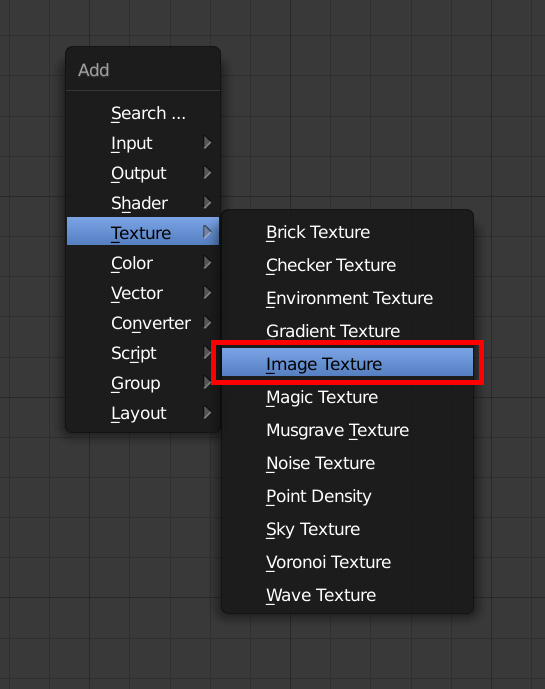
Load the Albedo Map through an Image Texture Node.
3.

Plug the Color output of the Image Texture Node into the Base Color Input of the Principled BSDF.
4.

Repeat the process for the Roughness Map, and set the Color Space to Non-Color Data.
Also set the Color Space to Non-Color Data for the Normal Map, and other maps that do not represent color data. Such as the Metallic, Opacity and so forth.
Plug this node into the Roughness input.
5.

To connect the Normal Map, we’ll need to create a Normal Map Node first. (Shift+A)
With this node, we’ll be able to control the intensity of the Normal, if needed.
6.

Now, repeat the process to load the Normal Map (bitmap) as usual.
Remember to set the Color Space to Non-Color Data
And plug this node into the Color Input of the Normal Map Node, and then into the Normal Input of the Principled BSDF.
7.

If you’re not rendering metallic surfaces (materials that come with a Metallic map), you can pretty much call it done by now.
To load a Metallic Map, all you have to do is plug the map into an Image Texture Node (as we did before), and plug this node into the Metallic Input of the Principled BSDF.
8.

If your material features an Opacity Map, you’ll have to include a Transparent BSDF into the Mix, to create transparency.
9.

Create a Mix Shader, to blend both the Principled BSDF and the Transparent BSDF together, and use your Opacity Map as the blending factor between the two. (fac input)
This is the Final Result:


Rendered using Cycles & displacement modifer.