Today, we’re going to explore: Lumion
(step-by-step guide featured at the bottom of the page)

Step-By-Step Guide:
1.
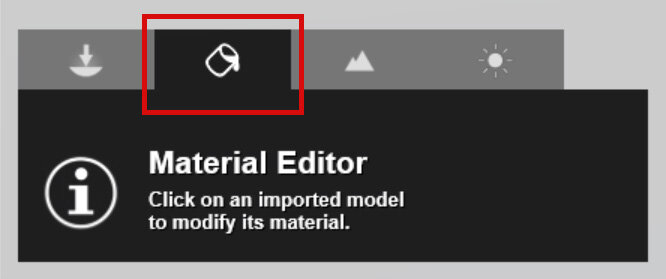
In the main window, select the Material Editor:
2.

Select (left-click) the object you’re about to apply the material:
3.

Inside the Custom tab, select the Standard material:
4.

Plug the Albedo in the Color Map input (highlighted in red):
Lumion creates a basic normal map derived from the Color Map by default, so make sure to remove it, in order to use our custom normal maps.
5.
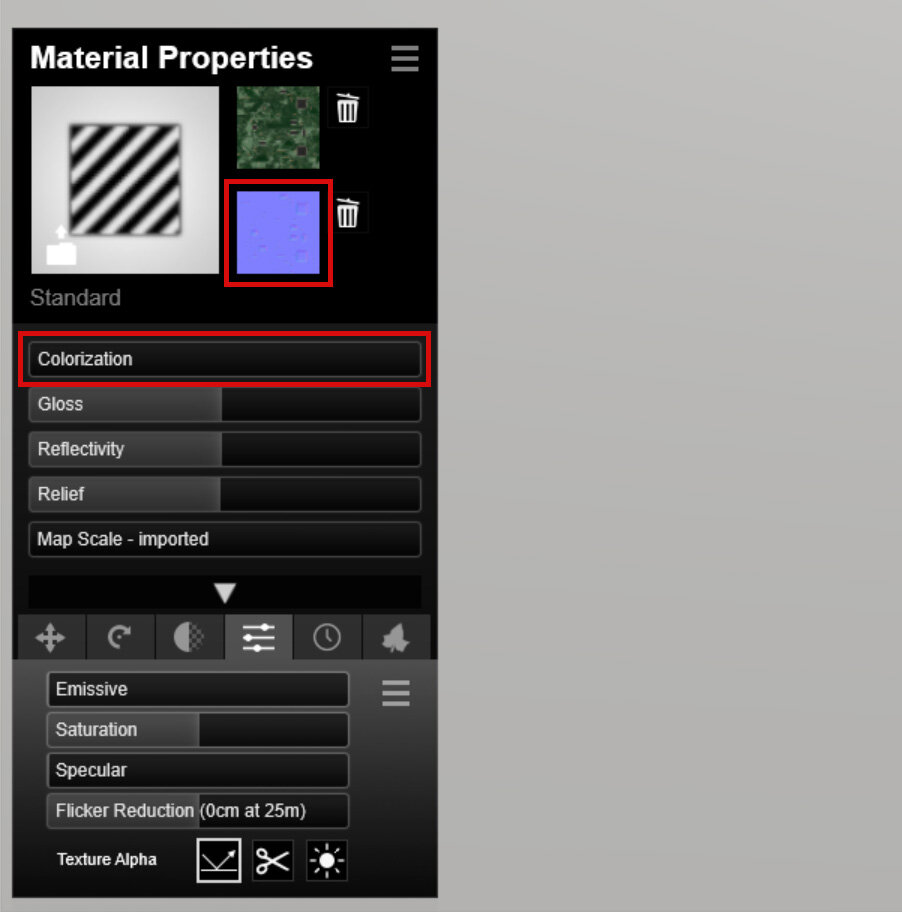
Then, plug the Normal Map into the second input:
Since we’re at it, set the Colorization to “0“, it prevents artificially coloring the Albedo.
6.

Since Lumion features a simplified Shader setup (without support for PBR materials as of now) the materials are supposed to be calibrated by eye, using these sliders:
Gloss: use this slider to control the sharpness/blurriness of the reflections.
Reflectivity: use values between “1.0“ and “2.0“ for metallic materials, or play around and eyeball the desired results.
7.

In order to use a custom Roughness Map, we need to pack it inside the Alpha Channel of the Normal Map.
Lumion accepts Albedo and Normal maps by default, to use extra maps, they need to be embedded in the alpha channel.
For this we’ll use Photoshop:
8.

Load your Roughness Map in Photoshop, and press “Ctrl + I“ to invert the values.
Lumion uses glossiness maps, by inverting the values in our Roughness Map, we transform it into a Glossiness Map.
Press “Ctrl + A“ to select the entire image, and copy it with “Ctrl + C“.
9.

Now, open the Normal Map in another tab, go to the Channels tab, and create an Alpha Channel.
10.

Paste the Glossiness Map we just created, by pressing “Ctrl+V“ inside the “Alpha 1” channel, and save as TGA or TIFF.
11.
And it’s pretty much done!
If your material features Transparent, Metallic* or Emissive features, just repeat the process mentioned above, but pack the additional map inside the Color Map instead.
Glossiness maps are supposed to be packed inside the Normal Map, while other additional maps (Reflectivity, Transparency, Emissiveness) should be packed inside the Color Map. (You can pick just one, though)
* You can use the Metallic map for the Reflectivity input, as a creative way to add detail and control the shading. With that said, it won’t be physically correct and/or look the same as our website previews, since Lumion doesn’t supports the industry-standard PBR shaders currently (oct, 2019), which is the base building block of our materials.
12.

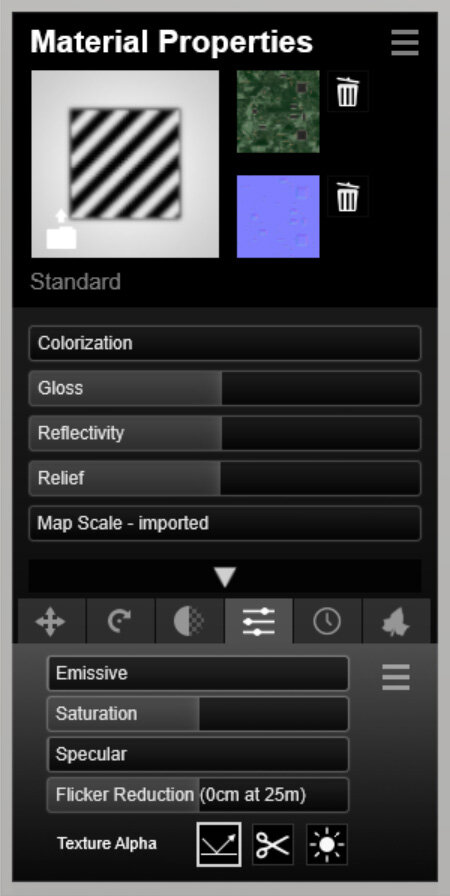
Back to Lumion, inside the Material Properties, expose the Extended Settings by clicking in the lower arrow.
Only if you want to use one of the available additional maps
13.
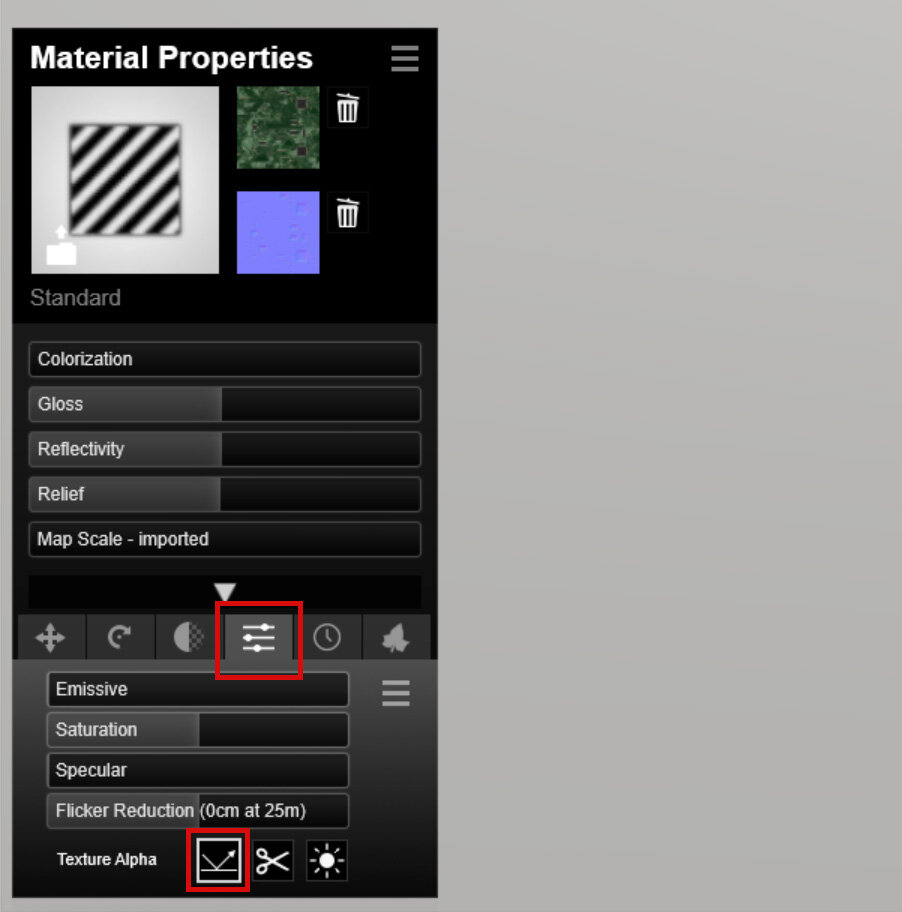
Go to the Settings tab, and select the option according to your desired additional map, where it says “Texture Alpha“.
First option is for Reflectivity, second for Transparency and third for Emissive.
…and it’s done!
This is the Final Result:

Rendered using Lumion.